

How to Mix and Master LDS Music in a Home Studio
Mixing sacred music in a home studio calls for more than clean recordings and polished plug-ins. LDS music often depends on clarity, warmth, reverence, and emotional restraint. A vocal, piano, choir, or string arrangement must feel present without becoming aggressive, while lyrics should remain understandable from the first line to the last.
The process becomes easier when musical intent guides every technical decision. A hymn arrangement may need an intimate, devotional sound, while an EFY-inspired youth track may benefit from a wider stereo image, stronger drums, and modern vocal effects. The best results come from matching the production style to the message.
You can create professional-sounding mixes with modest equipment, provided your room, monitoring habits, gain structure, and editing workflow are reliable. Start with a focused arrangement, record clean tracks, make musical balance decisions before adding effects, and treat mastering as final quality control rather than a rescue operation.
Define The Spiritual And Sonic Goal
Before opening an equalizer, decide what the listener should feel. An intimate solo hymn might call for a close vocal, soft piano, and a short room reverb. A large choral recording may need more distance, layered ambience, and enough low-mid support to suggest a congregation or concert hall.
Create a simple reference playlist with two or three recordings that resemble your intended mood. Listen for vocal placement, bass weight, reverb length, drum brightness, and overall loudness. Commercial releases can reveal useful targets, but do not copy their tonal balance blindly. A sacred arrangement benefits from space and dynamics that a heavily compressed pop track may not preserve.
Arrangement choices also shape the mix before recording begins. If the piano fills the same midrange as the lead vocal, changing the microphone or writing a simpler accompaniment may solve the problem more naturally than extreme EQ. Similarly, a choir that doubles every phrase can overwhelm the lyric unless its entrances, voicings, and dynamics are carefully planned.
Prepare The Room And Recording Chain
A home studio does not need expensive acoustic construction, but it does need controlled reflections. Place absorptive material at the first-reflection points, reduce hard surfaces near the microphone, and avoid recording vocals in a completely bare room. A balanced space gives you more dependable decisions when setting reverb and vocal presence.
Use a reliable audio interface and record at 24-bit resolution, typically at 44.1 or 48 kHz. Set microphone distance according to the source: a close vocal may need a pop filter and roughly 15 to 20 centimeters of working distance, while piano or ensemble microphones usually require more experimentation. Record peaks around -12 to -6 dBFS rather than trying to approach digital zero.
Monitor at a moderate volume and check the mix on headphones, small speakers, and ordinary earbuds. If the bass disappears everywhere except your studio monitors, the room may be misleading you. A short break between editing and critical listening also helps reveal harshness, mouth noise, timing problems, and excessive ambience.
Edit And Balance Before Adding Effects
Begin with organization. Label tracks by source and role, color-code vocal sections, and create buses for lead vocals, background vocals, keys, strings, drums, and effects. Remove obvious silence, headphone bleed, and unwanted chair noise, but leave natural breaths when they support the performance. Over-editing can make worship music feel sterile.
Timing correction should preserve human expression. Tighten a choir only when entrances distract from the message, and avoid forcing every syllable onto a rigid grid. Gentle clip gain is often more transparent than compression for evening out a solo performance. Correct pitch carefully as well; excessive tuning can create unnatural vibrato and remove the vulnerability that gives a devotional vocal its character.
Build the static mix with faders and panning before inserting processors. Place the lead vocal where the words are easy to understand, then bring in piano, choir, rhythm section, and supporting textures one at a time. If the arrangement already works at this stage, later processing will refine it instead of disguising fundamental balance problems.
Shape Vocals, Instruments, And Space
A lead vocal commonly benefits from a high-pass filter that removes unnecessary rumble, followed by a gentle cut in muddy low mids if the recording sounds cloudy. Add presence only as needed, since excessive upper-mid energy can make a singer sound sharp. De-ess before or after compression according to the track, and automate problem phrases rather than relying on one heavy setting.
Use compression to stabilize performance, not flatten it. A moderate ratio with a medium attack can preserve consonants and emotional transients, while a slower release may keep the vocal connected to the music. Parallel compression can add density to a choir or drum bus, but blend it quietly so the arrangement retains natural movement.
Reverb should create a believable environment. A short room can place piano and vocals together, while a longer hall can support a hymn’s sense of scale. Pre-delay keeps the first words clear before the reverberated tail arrives. Use sends rather than separate insert reverbs when possible, and apply EQ to the return so low-end buildup does not cloud the mix.
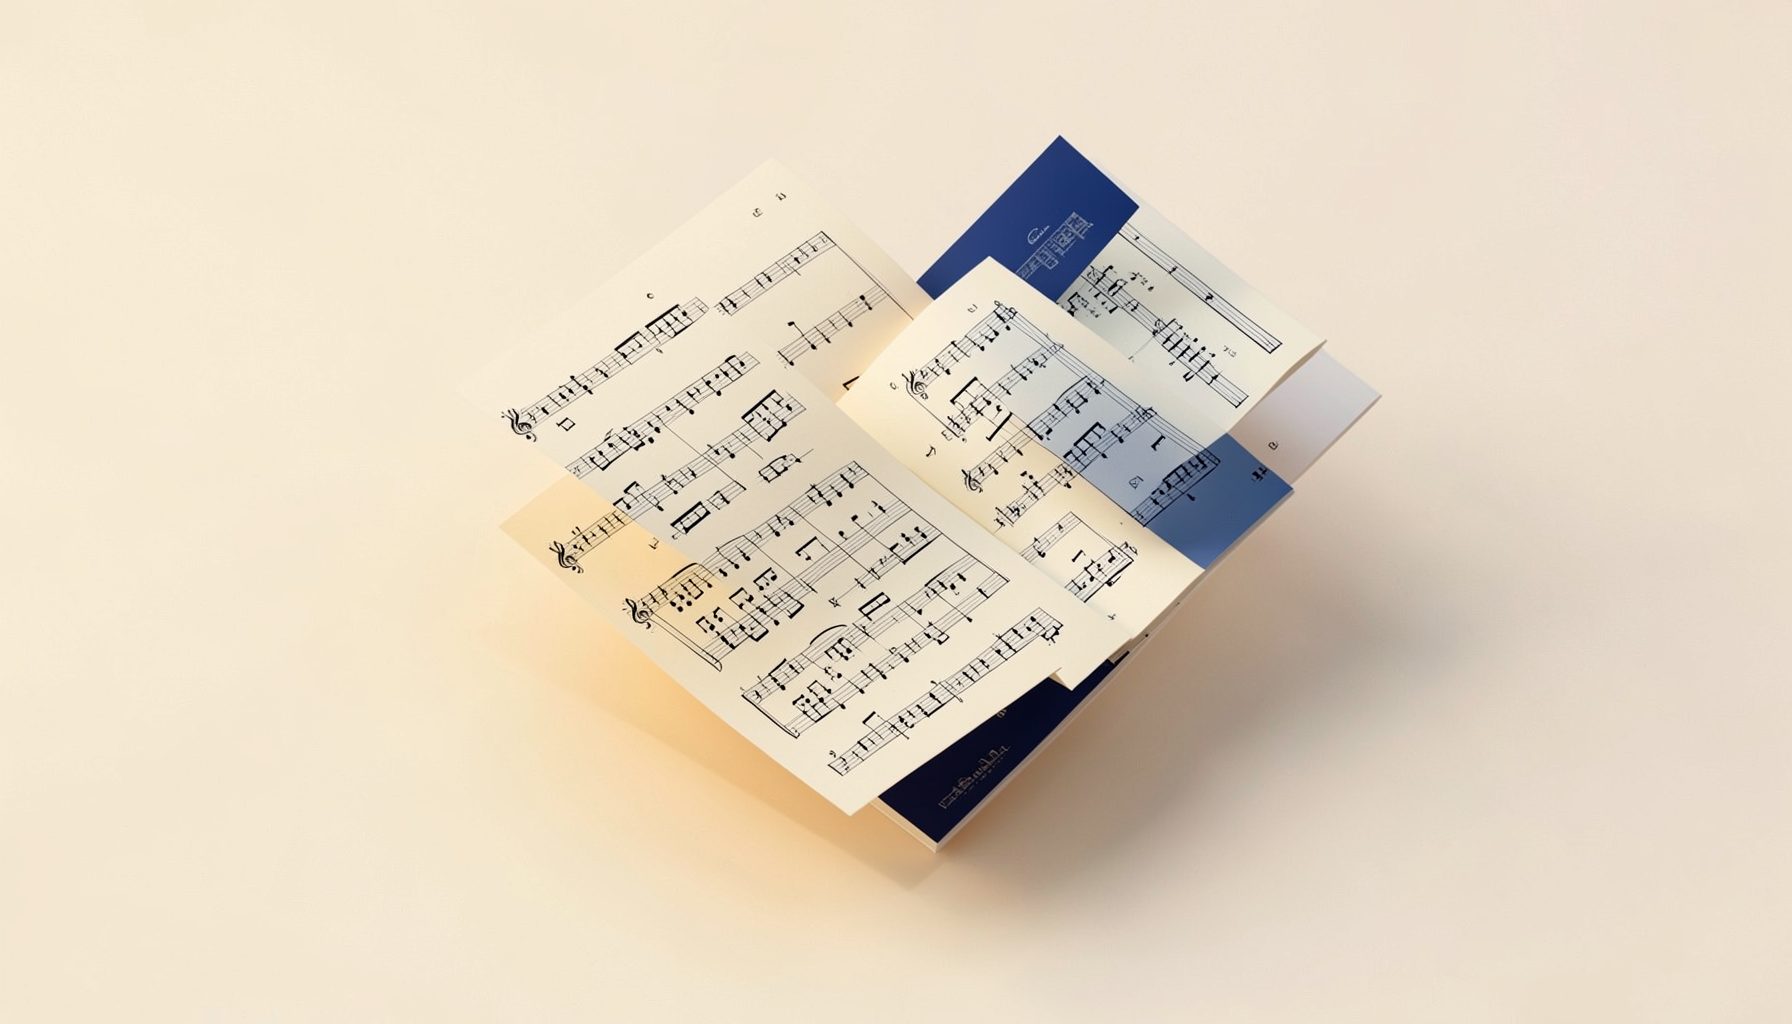
Music resources can also affect the arrangement. When adapting a hymn or preparing a piano part, consult archived sheet music resources for ideas about voicing, register, and accompaniment density before recording.
Check The Mix With Objective Tests
Use meters, but trust your ears first. Watch for clipping on the master bus, excessive sub-bass, and a vocal that becomes harsh when the listener turns up the volume. Compare your mix with a reference at matched loudness; the louder file will almost always seem more exciting even when it is less balanced.
| Area | What To Check | Common Home-Studio Fix |
|---|---|---|
| Vocals | Lyrics remain clear at low volume | Reduce competing midrange or automate vocal level |
| Piano and keys | Notes support rather than mask the singer | Adjust arrangement, panning, or low-mid EQ |
| Choir | Sections blend without becoming cloudy | Balance layers, control 200–500 Hz, use shared ambience |
| Low end | Bass and kick remain defined on small speakers | Reduce sub-bass and check phase relationships |
| Reverb | Space feels intentional, not distant or washed out | Shorten decay, add pre-delay, or lower the send |
| Master bus | Dynamics remain expressive without clipping | Use gentle bus compression and leave headroom |
Check mono compatibility before finalizing. A wide choir or doubled piano may sound impressive in stereo but lose important information when summed. Also listen at very low volume: if the vocal disappears completely, its level, arrangement, or midrange position needs attention.
Export a full-resolution mix without unnecessary limiting before mastering. Keep the stereo master clean, leave sensible headroom, and listen from beginning to end for clicks, abrupt edits, muted breaths, or effect tails that stop too soon. If physical products or older catalog material are involved, review the available return information before treating an archived purchase as a dependable production resource.
Master For Faithful Playback
Mastering should make a finished mix translate across systems while preserving its emotional shape. Begin with broad tonal adjustments, then use gentle compression or saturation only where the program needs cohesion. A limiter can raise average level, but pushing it too hard may reduce piano movement, choir depth, and the natural lift of a final chorus.
Compare the mastered file with the unmastered version at equal loudness. Listen for vocal fatigue, flattened dynamics, brittle cymbals, and a bass response that changes dramatically between headphones and speakers. Integrated loudness targets can provide a reference, but there is no single correct number for every LDS recording. A reflective hymn may sound better with greater dynamic range than an energetic contemporary track.
Export WAV or another lossless master for archiving, then create delivery versions such as MP3 only after the master is approved. Check the beginning and ending of every file, confirm metadata and artwork, and keep a clearly labeled instrumental or performance mix when useful. Preserve the original session and consolidated audio so future revisions do not require rebuilding the production.
Apply A Repeatable Home-Studio Workflow
A repeatable process reduces technical distractions and leaves more attention for interpretation. Keep notes about microphone position, preamp gain, plug-in settings, reference tracks, and revisions. When a mix improves, you will know which change helped instead of guessing during the next project.
Use these practical recommendations:
- Treat lyric clarity and emotional intent as the primary mix priorities.
- Fix arrangement, performance, and microphone problems before reaching for heavy processing.
- Keep separate buses for vocals, choir, instruments, and effects so changes remain controlled.
- Check mono, headphones, small speakers, and low-volume playback before exporting.
- Preserve dynamic range and compare every master at matched loudness.
A strong home-studio production can honor the character of LDS music without requiring a commercial room. Open your DAW, choose one song, and work through the process from arrangement and recording to balance, translation checks, and a restrained final master. Each completed mix will sharpen your hearing and make the next sacred recording more confident, clear, and expressive.